The Design Engineer's Guide to Qualifying AM Parts for Production

The Design Engineer's Guide to Qualifying AM Parts for Production
Additive manufacturing gives you incredible design freedom, but with that freedom comes variability...
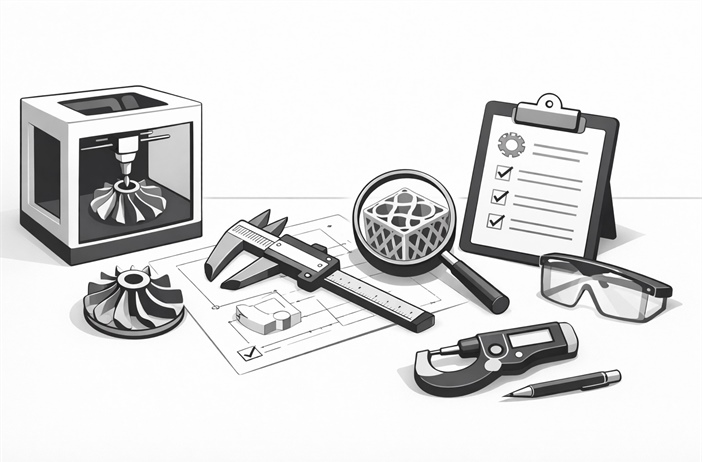
So you've designed a killer part using additive manufacturing, and now your boss is asking, "Can we scale this to production?" It's a question that makes a lot of design engineers pause. Moving from prototype to production-ready AM parts isn't just about hitting "print" a few hundred more times. It requires a systematic qualification process to ensure every part meets your specs, consistently.
Let's walk through exactly how to qualify AM parts for production, so you can confidently answer that question with a resounding "yes."
7 Material Selection Mistakes that Derail Your Project

7 Material Selection Mistakes that Derail Your Project
...and How to Dodge Them Like a Pro
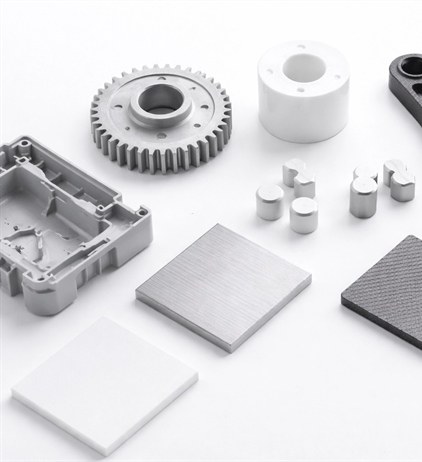
If you’ve ever watched a production-ready part unravel because of a material choice that looked good on paper, you’re not alone.
Material selection is one of those deceptively simple decisions that can spiral into delays, redesigns, and late-night CAD revisions if you’re not careful.